
Printing Killa's Helmet in Pieces So It Could Hold Someone's Headphones
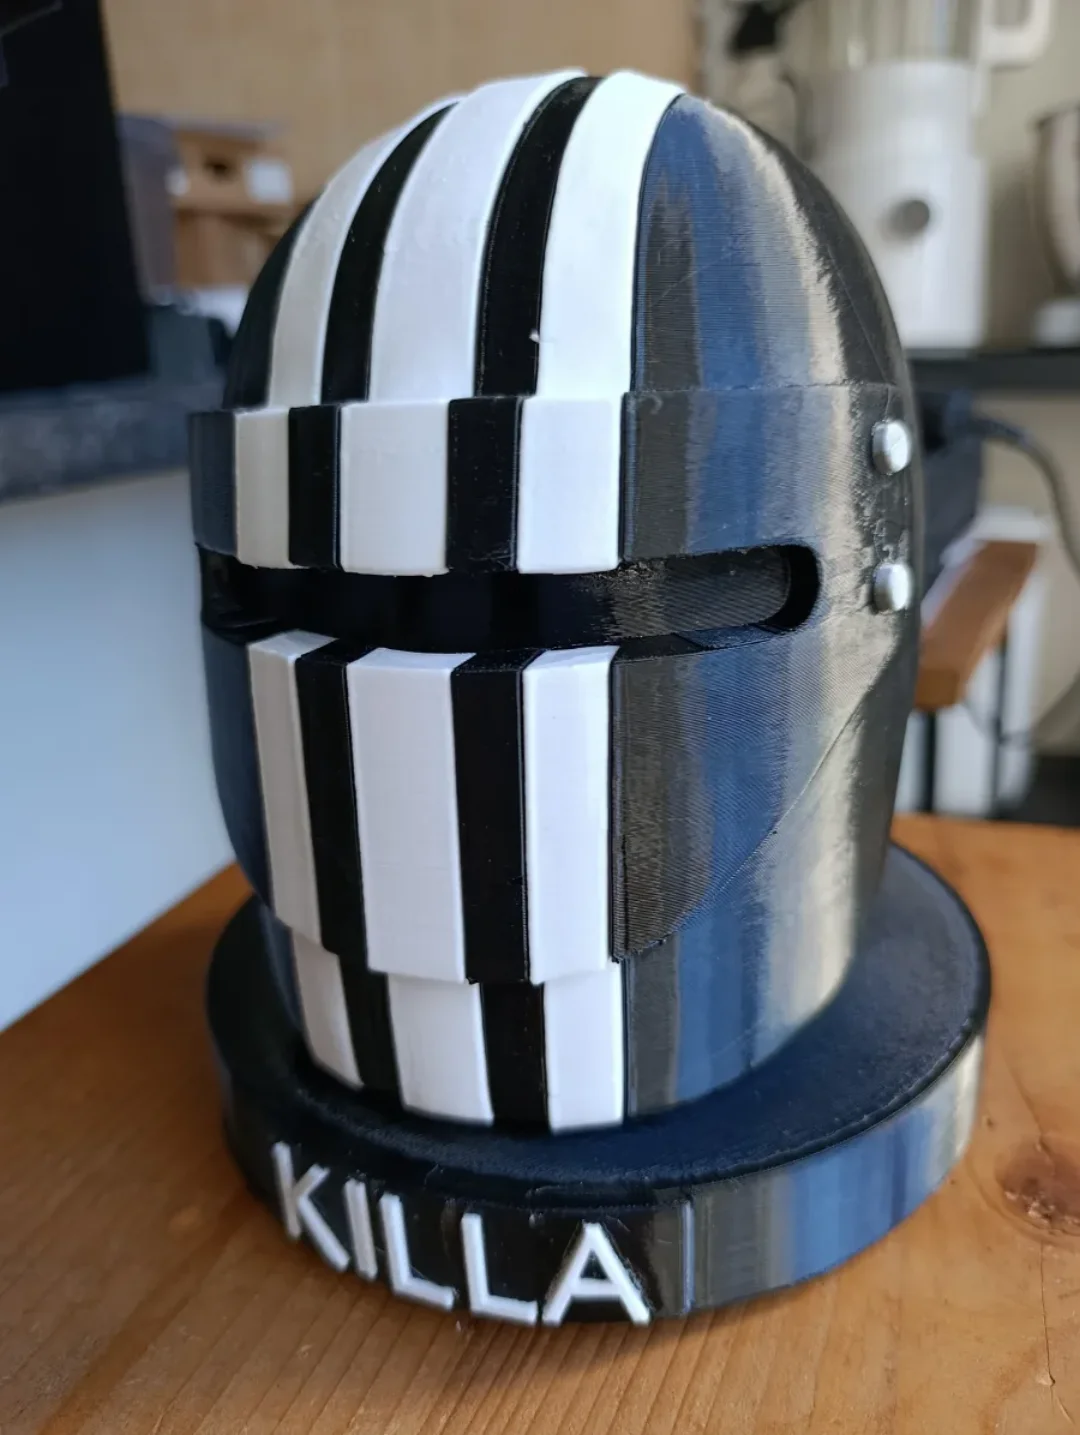
Some commissions are technically simple but creatively satisfying. Others are the opposite. This one managed to be both: a headphone stand modelled after Killa's iconic helmet from Escape from Tarkov, for a client in the Eastern Cape who wanted something that matched their Sennheiser HD 490 Pros in price point and presence.
The brief
The client's ask was clear: Killa's helmet, sized to sit on a desk as a headphone stand, holding a pair of HD 490 Pros without tipping or wobbling. The helmet needed to look accurate — not a rough approximation, but something a Tarkov player would actually recognise. Which meant getting the colour separation right.
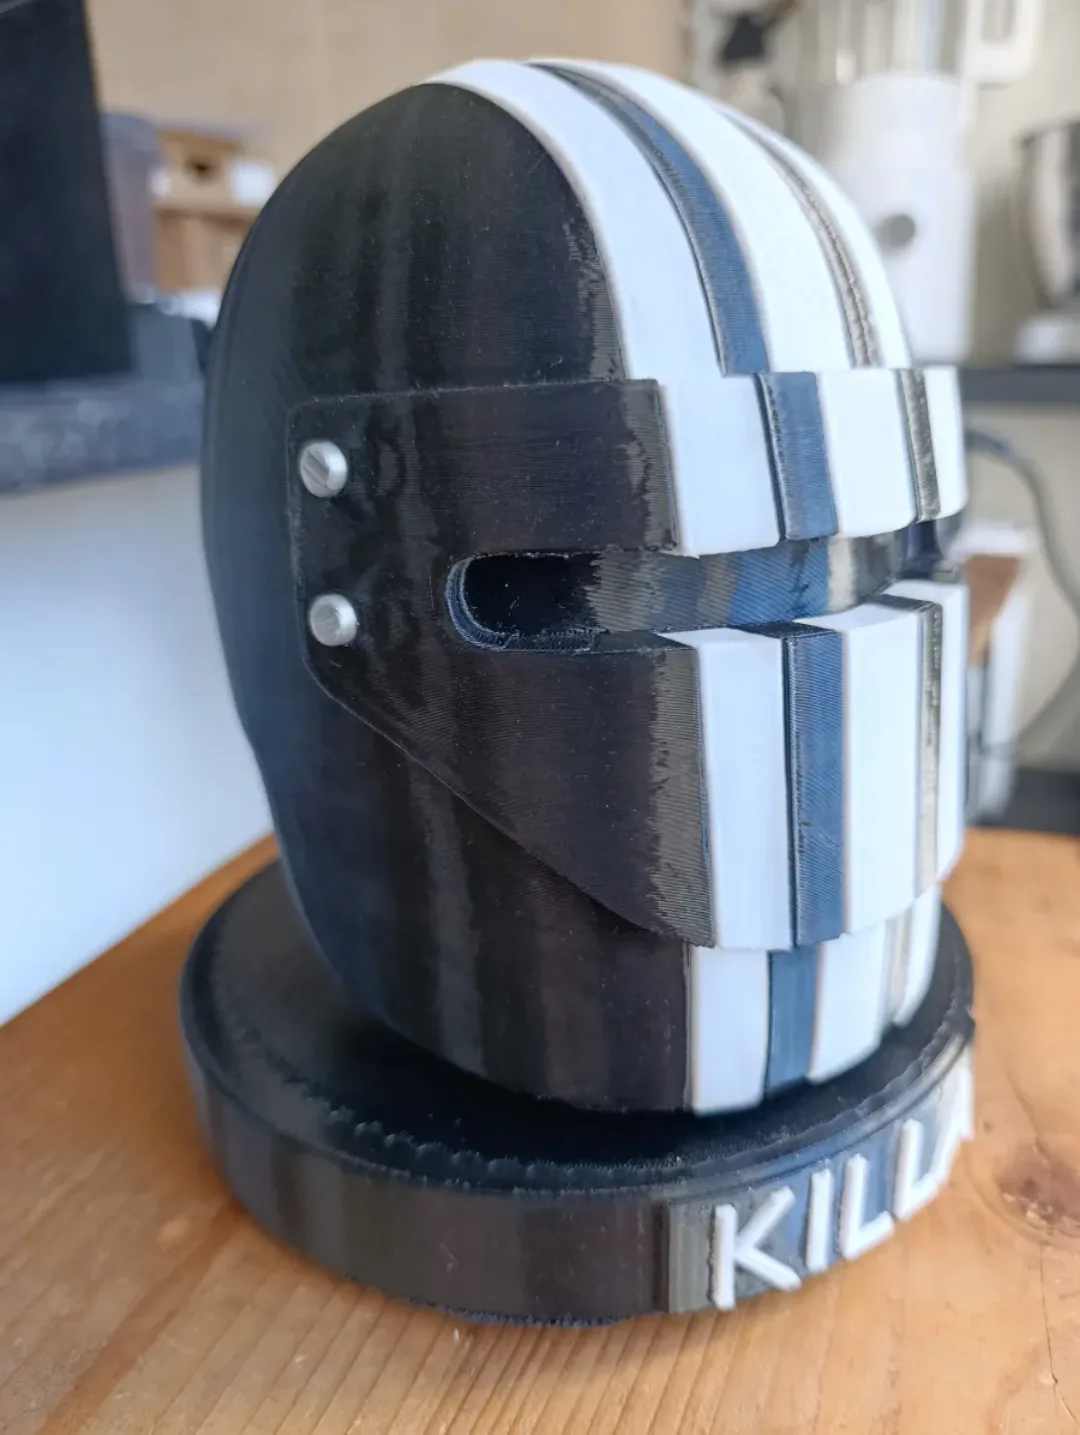
The helmet has four visually distinct regions: the main dark grey shell, the bold white vertical stripe inlays, the silver rivets along the visor line, and the base stand below it all. You can't print those as one object and expect the result to look like anything. Each colour requires its own component, printed separately, then assembled.
Four components, one assembly
The print broke into four distinct parts:
The helmet shell — the main body in dark grey PETG, printed solid enough to carry the weight of the headphones on the crown without flexing. PETG rather than PLA because this is going to sit on a desk under headphones indefinitely and PLA creeps under sustained load at room temperature.
The white infills — the vertical stripe inlays that define the helmet's silhouette. These were printed separately in white PETG and pressed into recesses in the shell. Getting the fit right took iteration: too loose and there's a visible gap; too tight and you're forcing parts together and risking a crack.
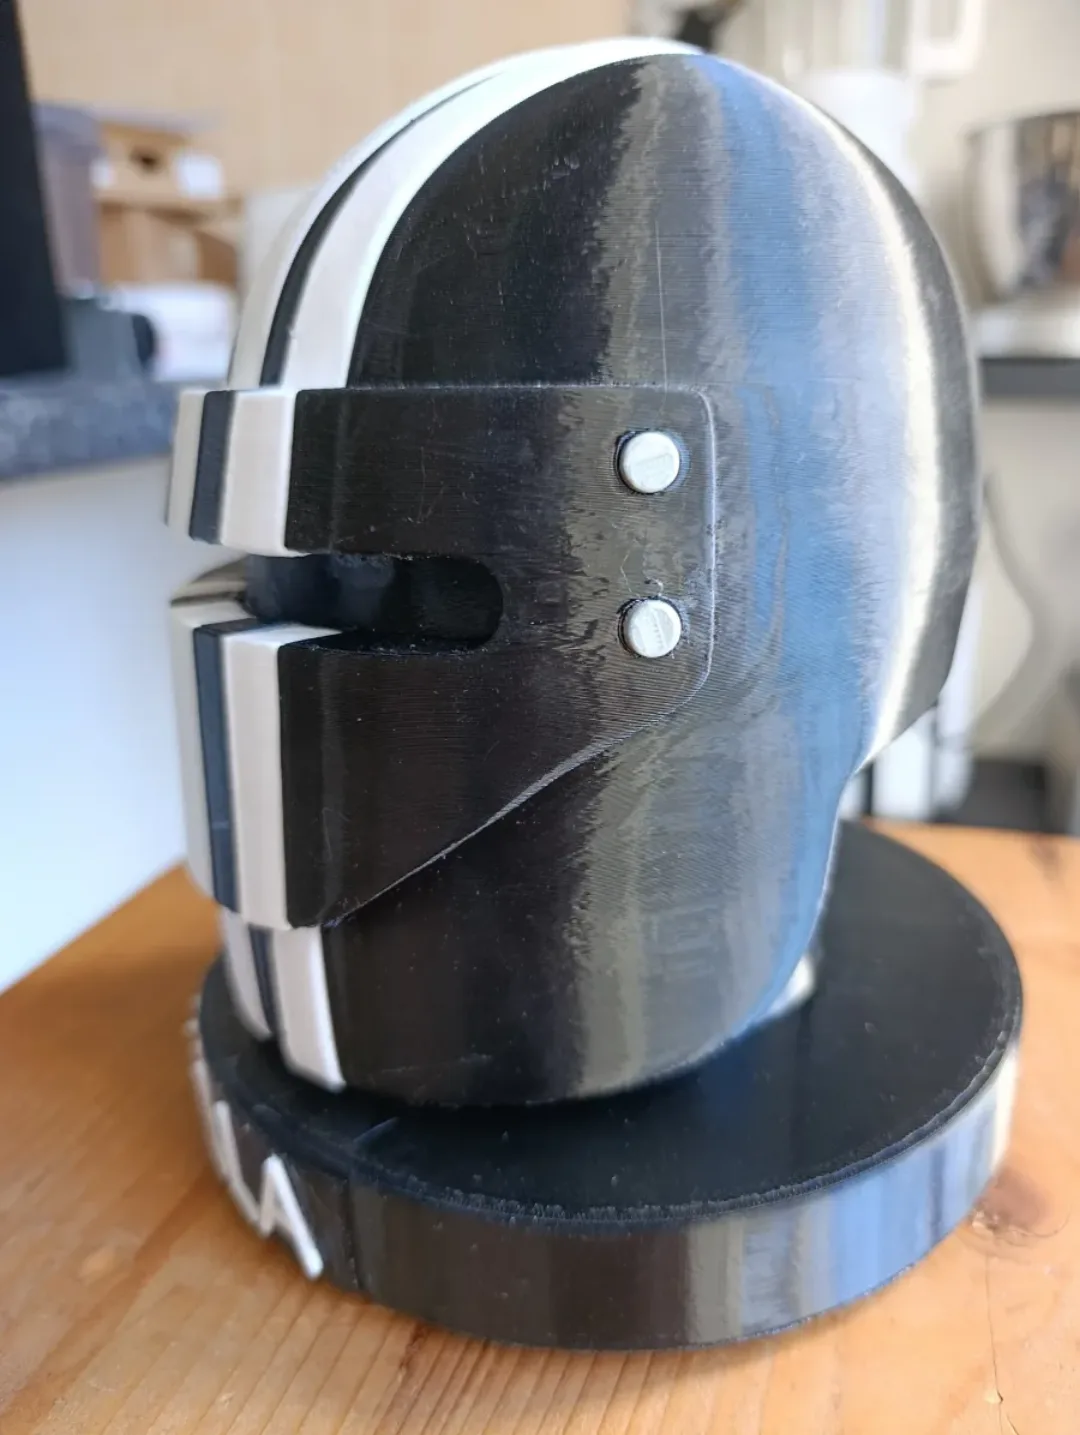
The silver rivets — eight small cylindrical studs that run along the visor line. Printed in silver-toned PETG, set into drilled locations on the shell. Small parts, but they do a lot of visual work — without them the visor looks flat and the helmet reads as costume rather than armour.
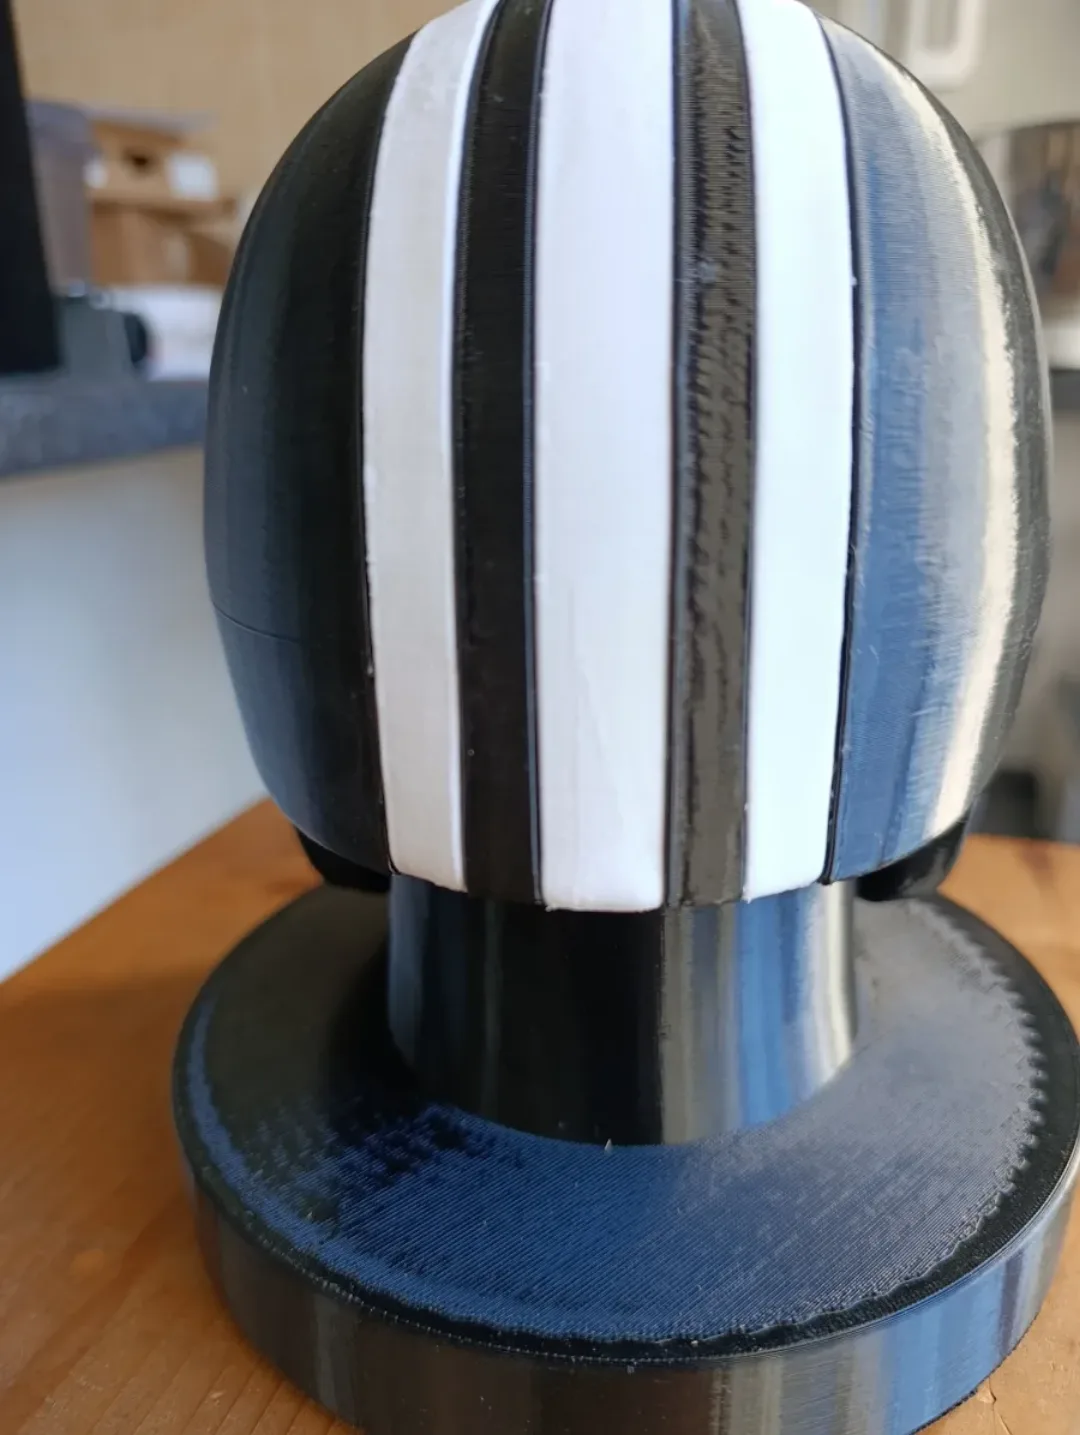
The base stand — a purpose-built plinth to raise the helmet to the right height for the headphone arc to rest naturally on the crown. Dialling in the height meant measuring the headphone geometry and working backwards from where the arc needed to sit.
Why multi-part
The honest answer is that multi-colour printing via filament swaps — where the machine pauses and you change filament at a set layer height — works well for flat, horizontal colour transitions. It doesn't work well for the inlay geometry on this helmet, where the stripes run vertically through the shell and the rivets are small isolated details in a sea of grey. The tolerances and geometry require physical separation: print each colour as its own piece, fit them together.
It also means each component can be checked individually before assembly. If a rivet comes out wrong, you reprint that rivet — not the entire helmet. That kind of modularity matters on a print that has multiple sessions and several hundred grams of filament in it.
The result
It sits on a desk in the Eastern Cape holding a pair of Sennheiser HD 490 Pros, and it looks the part. The stripe inlays sit flush, the rivets are seated clean, and the base is stable enough that there's no drift when the headphones are lifted or replaced. For a Tarkov player with a desk worth caring about, it works.
If you have a piece you want replicated — a game asset, a prop, something that needs more than one colour in a way that can't be done with a simple filament swap — send us a WhatsApp and we'll work out how to pull it apart and put it back together.