
Beginner's guide
3D printing, without the jargon.
Everything a normal person needs to know before ordering a 3D print: how the machines actually work, why one part costs R250 and another costs R2,500, what the plastics are for, what the technology genuinely can't do, and what all the words mean. No sales pitch — this is the explanation we end up giving on WhatsApp most weeks, written down properly, with three challenges along the way so you're not just reading at it.
Written by the team at Forge & Figures, Cape Town · About a 12 minute read · Three things to play with
On this page
- What 3D printing actually is
- The types you'll meet
- From idea to object
- Files and formats
- Materials, in plain English
- What drives price and time
- What it's great at — and isn't
- Things that surprise people
- Myths worth dropping
- Safety and sensible use
- Glossary
- Beginner questions
Three challenges are built into the sections below — pick your material, price a print by moving the sliders, and see how many myths you can call. Your run gets scored at the bottom.
The short version
Five things that explain most of it.
It builds up, it doesn't cut away.
A printer adds material layer by layer instead of carving it out of a block. Nothing is wasted on offcuts.
Layers are thinner than a sheet of paper.
We print at 0.08mm to 0.28mm per layer. A 100mm tall piece is somewhere between 350 and 1,250 stacked layers.
It takes hours, not minutes.
A palm-sized part is typically 2-6 hours on the machine. A big display piece can run for days.
Someone has to make the 3D file first.
A photo isn't a 3D model. Either the file already exists, or it gets designed or reverse-engineered before anything prints.
There's no tooling, so one is affordable.
Injection moulding needs an expensive mould before unit one. Printing doesn't, which is why it wins for one-offs and small runs.
So what is it, really?
Almost everything around you was made by taking material away or by forcing it into a shape. A lathe cuts a rod down. A CNC mill carves a block. Injection moulding squirts molten plastic into a steel mould that cost tens of thousands of rand to cut before it produced a single item.
3D printing does the opposite. It adds material, a fraction of a millimetre at a time, until the object exists. Picture a very precise, very patient hot glue gun mounted on rails, drawing one flat slice of your object, moving up 0.2mm, and drawing the next one — a few thousand times.
That difference has one enormous consequence: there is no tooling. No mould to pay for, no minimum order to justify it. The first item costs roughly what the tenth costs. That's why 3D printing is the right answer for a discontinued bracket, a prototype, or fifty branded keychains — and the wrong answer for fifty thousand of them.
The second consequence is that complexity is close to free. A hollow lattice, an internal channel, or a hinge printed already assembled costs a mould-maker a fortune and costs a printer nothing extra. Geometry that would be impossible to machine is just another Tuesday.
The technologies
Four kinds of printer, and which one you'll actually meet.
'3D printing' is a family of quite different processes. Almost everything a consumer or a small business orders comes off the first one — but it helps to know why.
FDM / FFF
Fused deposition modelling
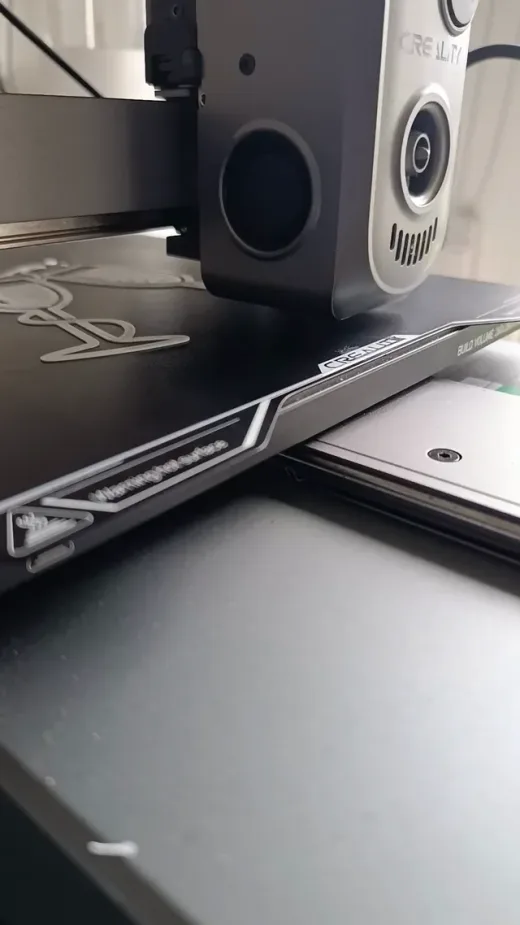
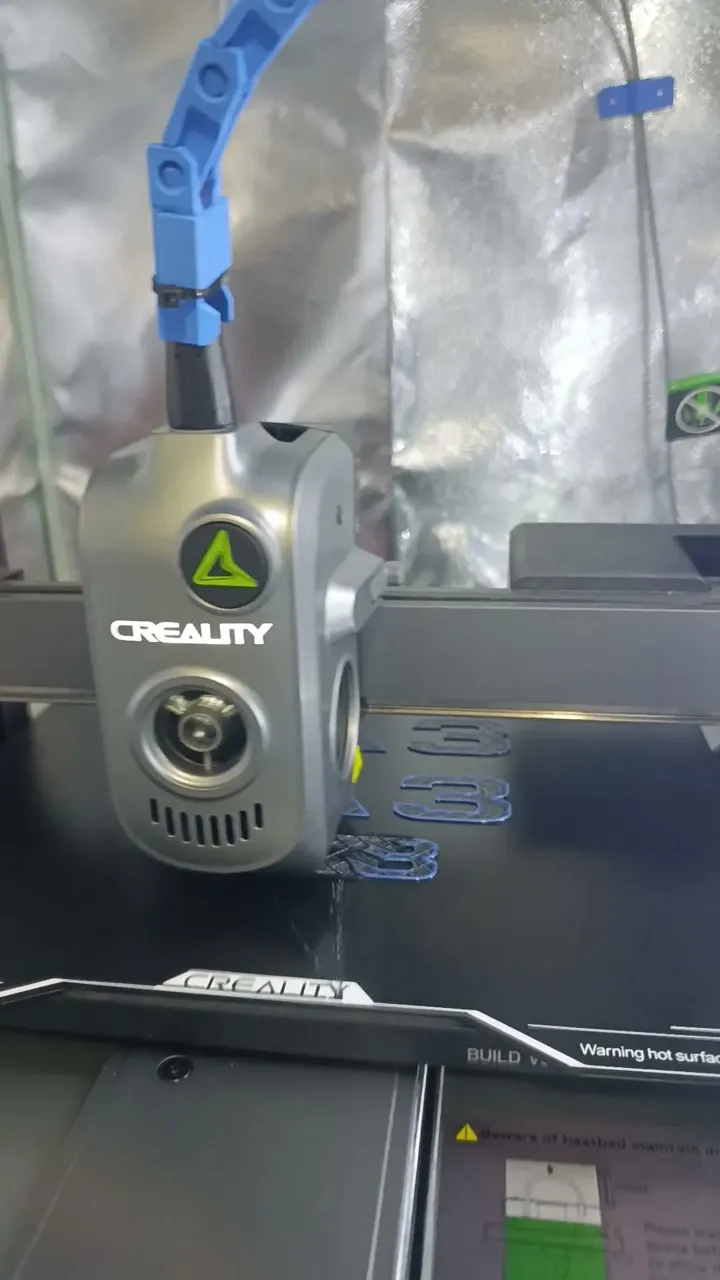
A nozzle heats plastic filament — a 1.75mm string wound on a spool — to roughly 200-260°C and draws each layer onto the build plate, one on top of the last.
Best for
Almost everything a person or a business actually asks for: functional parts, replacement pieces, props, decor, prototypes, branded items, larger objects.
Watch out for
Fine layer lines are visible up close, and overhanging shapes need temporary support scaffolding that gets removed afterwards.
Resin (SLA / MSLA)
Stereolithography
A vat of liquid photopolymer resin is cured, layer by layer, by UV light shone through the bottom of the tank. The part is lifted out of the liquid as it grows.
Best for
Very small, very detailed things — jewellery masters, dental models, competition-grade miniatures where every scale and rivet matters.
Watch out for
Parts are more brittle, degrade in sunlight, and build volumes are small. Uncured resin is messy and an irritant, and every print needs washing and post-curing.
SLS / MJF
Powder bed fusion
A laser or a chemical binder fuses fine nylon powder one layer at a time. The loose powder around the part holds it up, so no support structures are needed at all.
Best for
Tough industrial nylon parts, living hinges, complex geometry, and short production runs where every unit must be identical.
Watch out for
Industrial pricing and lead times. The finish is a grainy matte, and colour choice is usually limited to dyed grey or black.
Metal printing
DMLS / SLM / binder jetting
A high-powered laser melts metal powder — titanium, stainless, aluminium — into solid layers inside an inert-gas chamber.
Best for
Aerospace brackets, medical implants, tooling inserts, and geometry that simply can't be machined.
Watch out for
Very expensive, and the print is only the start: parts still need stress relief, support removal, heat treatment and often machining.
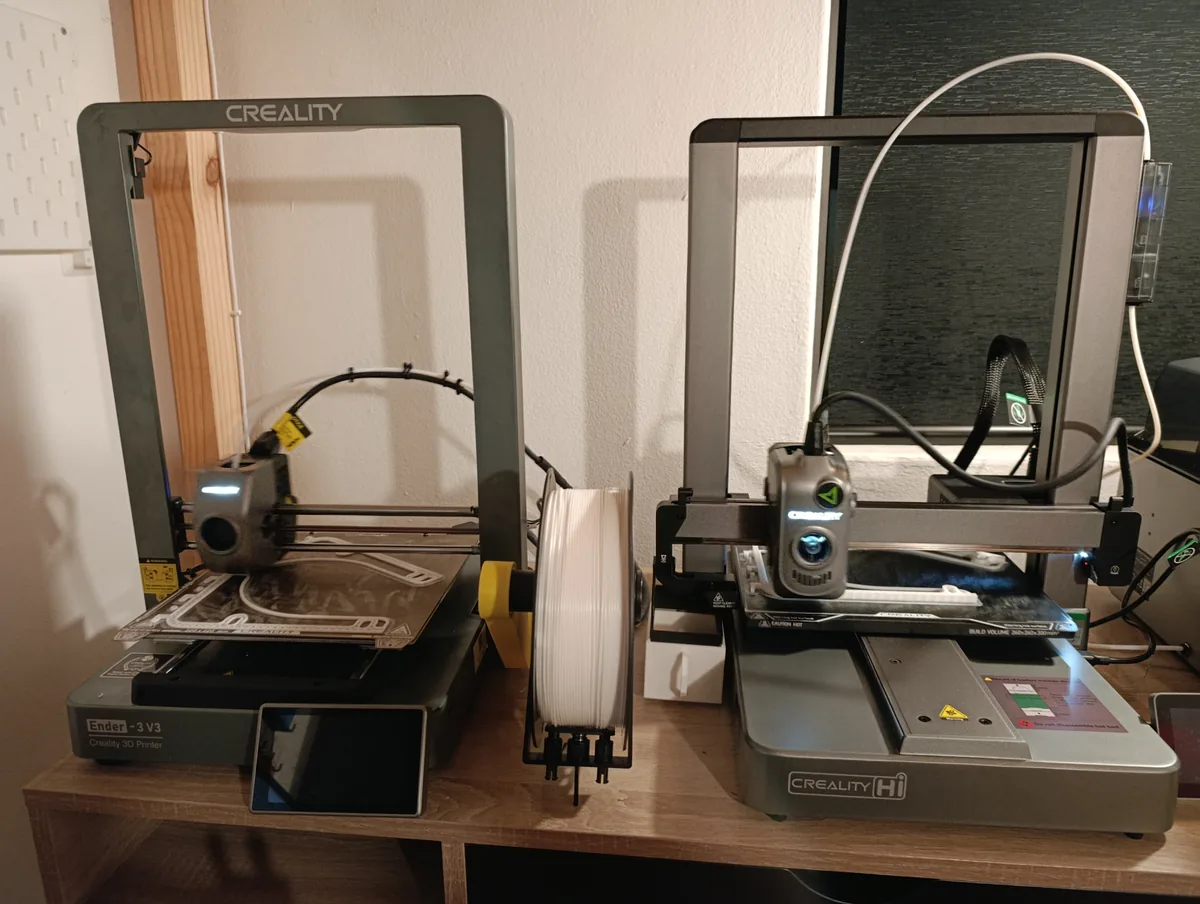
There are others you'll see in the news — printed concrete houses, printed food, bioprinted tissue — but they're research and industrial territory, not something you can order on a Tuesday. Our studio runs five CFS-equipped FDM machines, which covers the overwhelming majority of what people actually need made.
The process
From idea to object, in five steps.
This is the part most people have never seen. It explains almost every question about price, timing and why we keep asking for measurements.
A 3D model has to exist
Everything starts with a digital 3D file. There are three honest routes to one: you already have a file, we design it from your sketch, photos and measurements, or we reverse-engineer a physical object you send us. This step is where most of the human effort lives — and it's the part people don't expect to pay for.
A photograph has no depth information. It's a great reference, but it isn't a model.
Slicing turns the model into instructions
Slicing software cuts the model into horizontal layers and writes the machine a set of instructions — where to move, how fast, how hot, how much plastic to push. Layer height, wall thickness, infill, orientation, supports and colour changes are all decided here.
This is also where the price largely gets set, before a single gram of plastic is used.
The machine runs
The first layer is the make-or-break moment — if the plastic doesn't stick evenly to the bed, nothing above it will be right. After that it's mostly patience. A small functional part is a few hours; a large, detailed display piece can run for several days across multiple jobs.
Our fleet is monitored remotely, so a failure at 2am doesn't quietly waste another 12 hours.
Supports come off, finishing goes on
Support scaffolding is snipped away, seams are sanded, multi-part assemblies are glued and pinned, threaded inserts are heat-set, and anything being painted is primed first. On a display piece, this hand work is often longer than the print itself.
Functional parts usually skip this. Display pieces usually can't.
Check, then hand over
Dimensions get checked against the spec — especially anything that has to fit onto or into something else — and then it's collection in Cape Town or courier anywhere in South Africa.
If a part has to mate with an existing object, send us the object or its measurements. Guessing costs a reprint.
Layer by layer
Step three, sped up: a vase printed as a single line of molten plastic, one layer stacked on the last.
Layers exaggerated to 0.6 mm so you can see them — our finest prints go down to 0.08 mm.
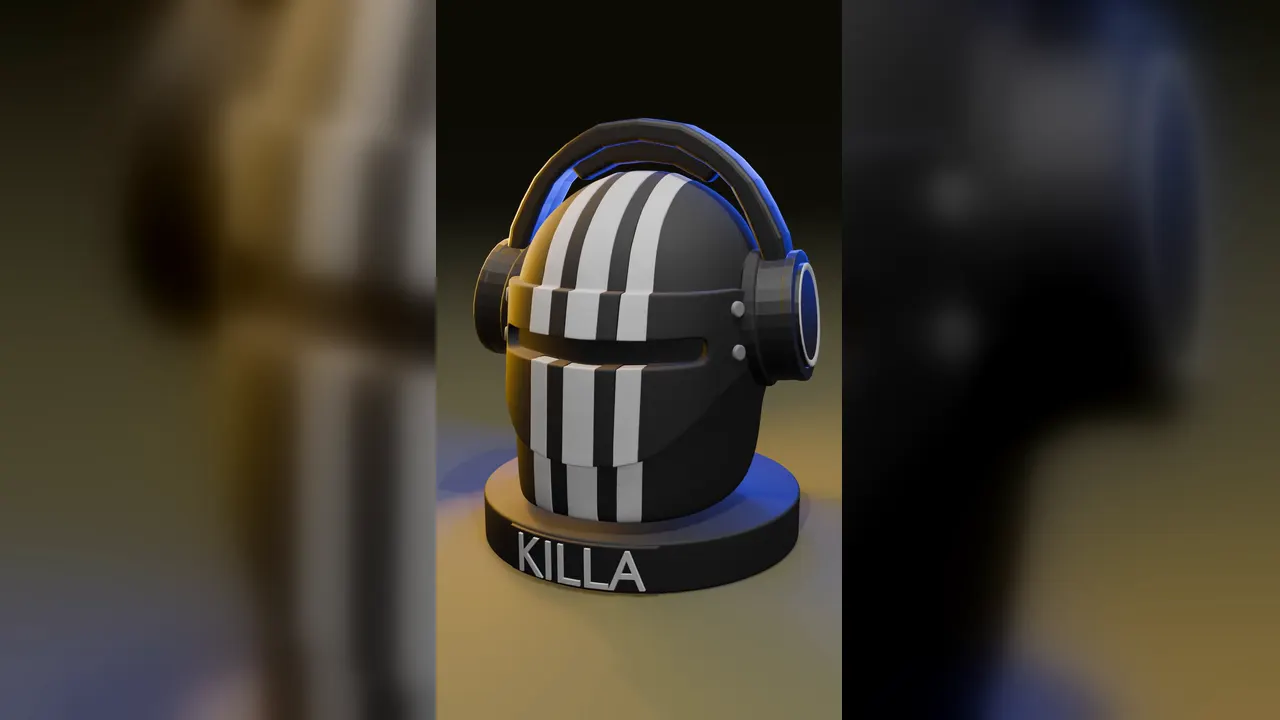
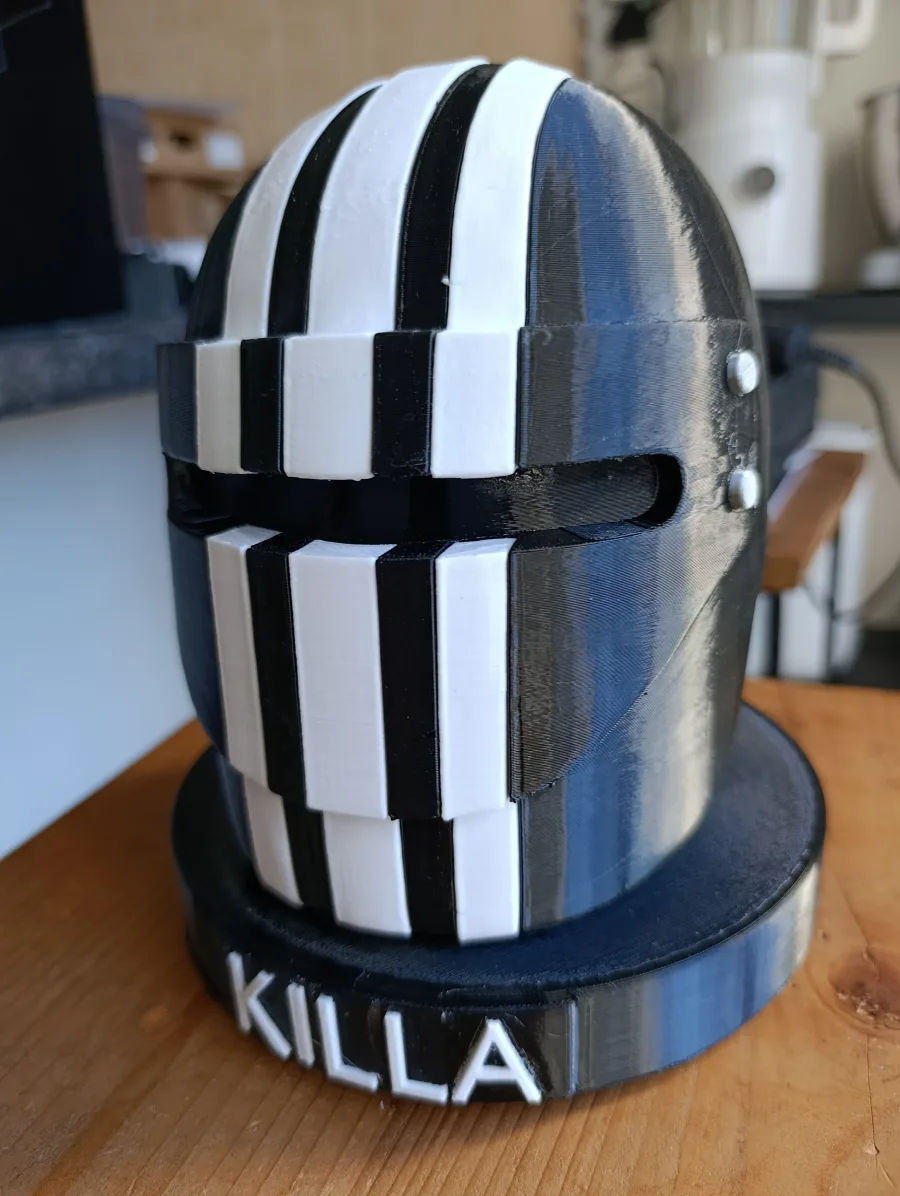
We've written both ends of this up in detail — how a model gets designed from scratch and how a broken original becomes a printed replacement part.
Files
The five extensions worth recognising.
If someone sends you a 3D file, or you download one, it'll almost certainly be one of these.
.STL
Stereolithography
The old standard. A shell made of triangles — geometry only, no colour, no units, no editable history.
Fine to send. Most free downloadable models are STL.
.3MF
3D Manufacturing Format
The modern replacement. Keeps real-world units, colours, and multi-part assemblies in one file.
Send this if you have the choice.
.STEP
Standard for Exchange of Product Data
A proper engineering CAD format that stores exact mathematical surfaces rather than triangles.
Best of the lot. Precise, and we can still edit it cleanly.
.OBJ
Wavefront Object
A mesh that can carry colour and texture. Common out of sculpting tools and 3D scanners.
Usable, especially for organic and sculpted shapes.
.GCODE
Machine instructions
The sliced output — already committed to one specific printer, nozzle and set of settings.
Don't send this. It's the recipe, not the design.
If you're sending us something
STEP or 3MF if you have the choice, STL if that's what you were given — and if you have no file at all, that's completely normal. Photos from a few angles plus a measurement or two is a perfectly good starting point, and it's how most of our jobs begin.
Materials
Four plastics, four different jobs.
Material choice is the decision that most often separates a print that lasts from a print that disappoints. It's rarely about quality — it's about matching the plastic to where the part will live. And none of these are exotic: you've handled all four already today, probably without noticing.
PLA
Sharpest detail, easiest to print, widest colour range.
You already own some
The compostable cutlery and cup linings at a food market, and the mesh on a pyramid teabag. It's made from plant starch, which is also why it doesn't love heat.
Reach for it
Miniatures, decor, display pieces, prototypes, anything living indoors.
Think twice
Anything that sits in a parked car or in direct Cape Town sun — it softens around 55-60°C.
PETG
Tough, slightly flexible, shrugs off moisture and knocks.
You already own some
A cooldrink bottle is its near-identical cousin, PET — same clarity, same refusal to shatter. So are clear food trays and the guards over machinery.
Reach for it
Brackets, clips, housings, containers, parts that get handled and dropped.
Think twice
Fine sculpted detail — it prints a little stringier than PLA.
ABS
Heat- and impact-resistant, sands and glues beautifully.
You already own some
Lego. Every brick you've ever stood on is ABS, which is exactly why they still clutch after forty years. Also keyboard keycaps, kettle bodies, suitcase shells and black waste pipe.
Reach for it
Engineering parts, automotive interior pieces, anything that takes a beating or gets warm.
Think twice
Odour-sensitive spaces. It needs an enclosed, filtered chamber — which is why we print it in one.
ASA
ABS's weatherproof cousin. Holds its colour outdoors.
You already own some
The bits of a car that live outside: mirror housings, grilles, roof rails. Also satellite dishes and garden furniture — things left in the sun for years that haven't gone chalky.
Reach for it
Permanently outdoor fixtures, automotive trim, coastal and marine parts.
Think twice
Budget jobs and the finest detail work — it's the specialist, not the default.
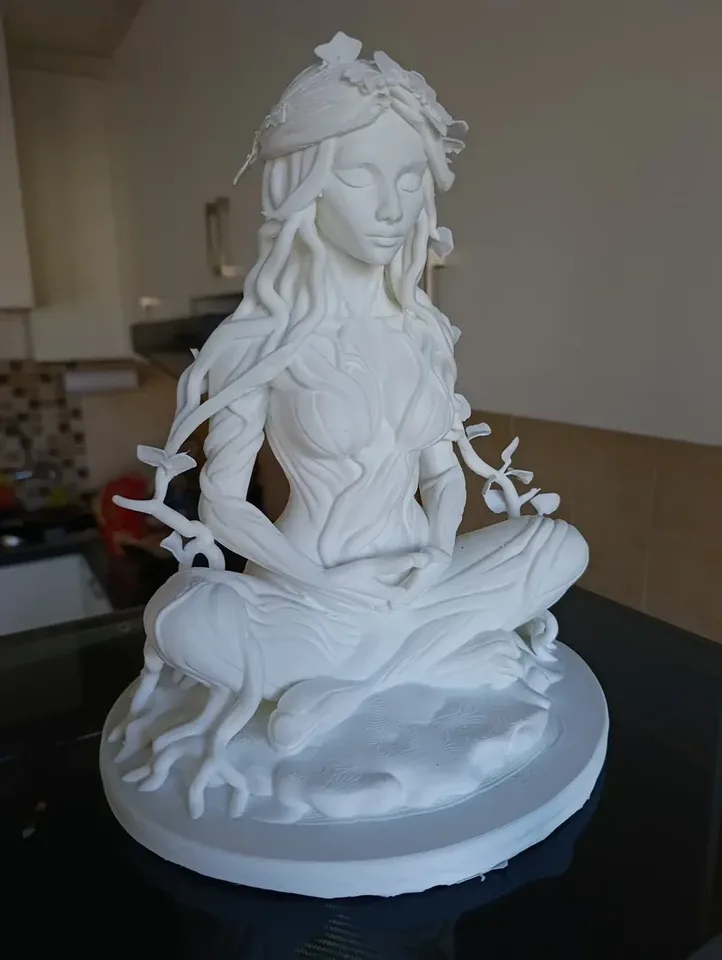
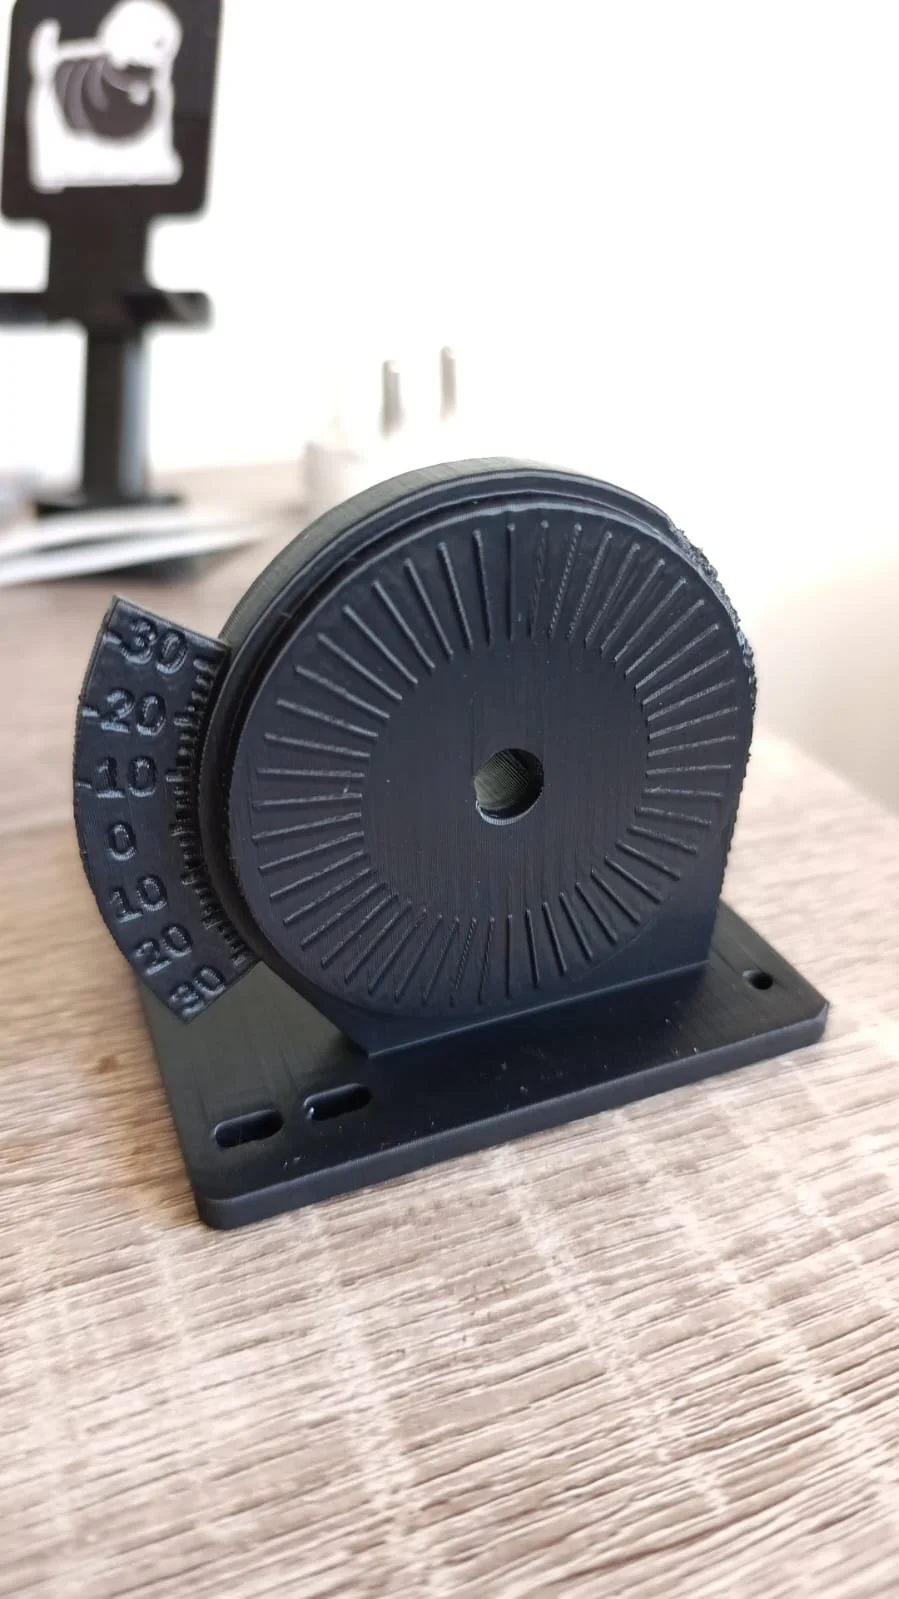
Which plastic is yours?
Four questions. Same ones we'd ask you on WhatsApp, in the same order.
1.Where is it going to live?
2.What matters most to you?
3.Does it carry weight or take force?
4.What is it, really?
0 of 4 answered — pick one from each row.
Full specs, heat and UV ratings, and every colour we stock are on our setup page, and we've written a longer piece on choosing the right material. If you're unsure, tell us where the part will live and how hard its life will be — that's genuinely all we need to pick for you.
Price & time
Why one print is R250 and the next is R2,500.
Nobody enjoys a quote that arrives with no explanation. Here is genuinely everything that moves the number.
Machine time
The single biggest factor. Double every dimension of a part and you get roughly eight times the volume — and something close to eight times the print time.
Material used
Not just the part. Support scaffolding, brims and the plastic purged during colour changes all get paid for.
Layer height
0.08mm layers look noticeably better than 0.24mm and take roughly three times as long. Worth it on a face, wasted on a bracket.
Infill
Most prints are hollow, with an internal lattice at 15-25%. Pushing that towards solid can double both time and material.
Supports and orientation
Overhangs need scaffolding that's printed, then thrown away, and the surface underneath it needs cleanup. Good orientation avoids a lot of both.
Colour changes
Our CFS units swap filament automatically, but each swap purges the nozzle clean. A four-colour print can waste more plastic than the part weighs.
Finishing
Sanding, priming, painting and assembly are hand labour. On a display piece this is frequently the largest line on the quote.
Design and modelling
If the file doesn't exist yet, someone has to draw it. A simple bracket is quick; a sculpted character is not.
How to spend less, honestly
- Send measurements, not just a photo — modelling time is real time, and guesswork gets billed twice.
- Ask whether the part can be scaled down or hollowed out. Both cut time and material sharply.
- Accept coarser layers on surfaces nobody inspects up close.
- Batch your order. One run of ten costs far less per unit than ten separate jobs.
- Stick to one colour unless branding genuinely demands more.
- Print functional parts in the final colour instead of painting them.
- Give us lead time. Rush jobs have to displace scheduled ones.
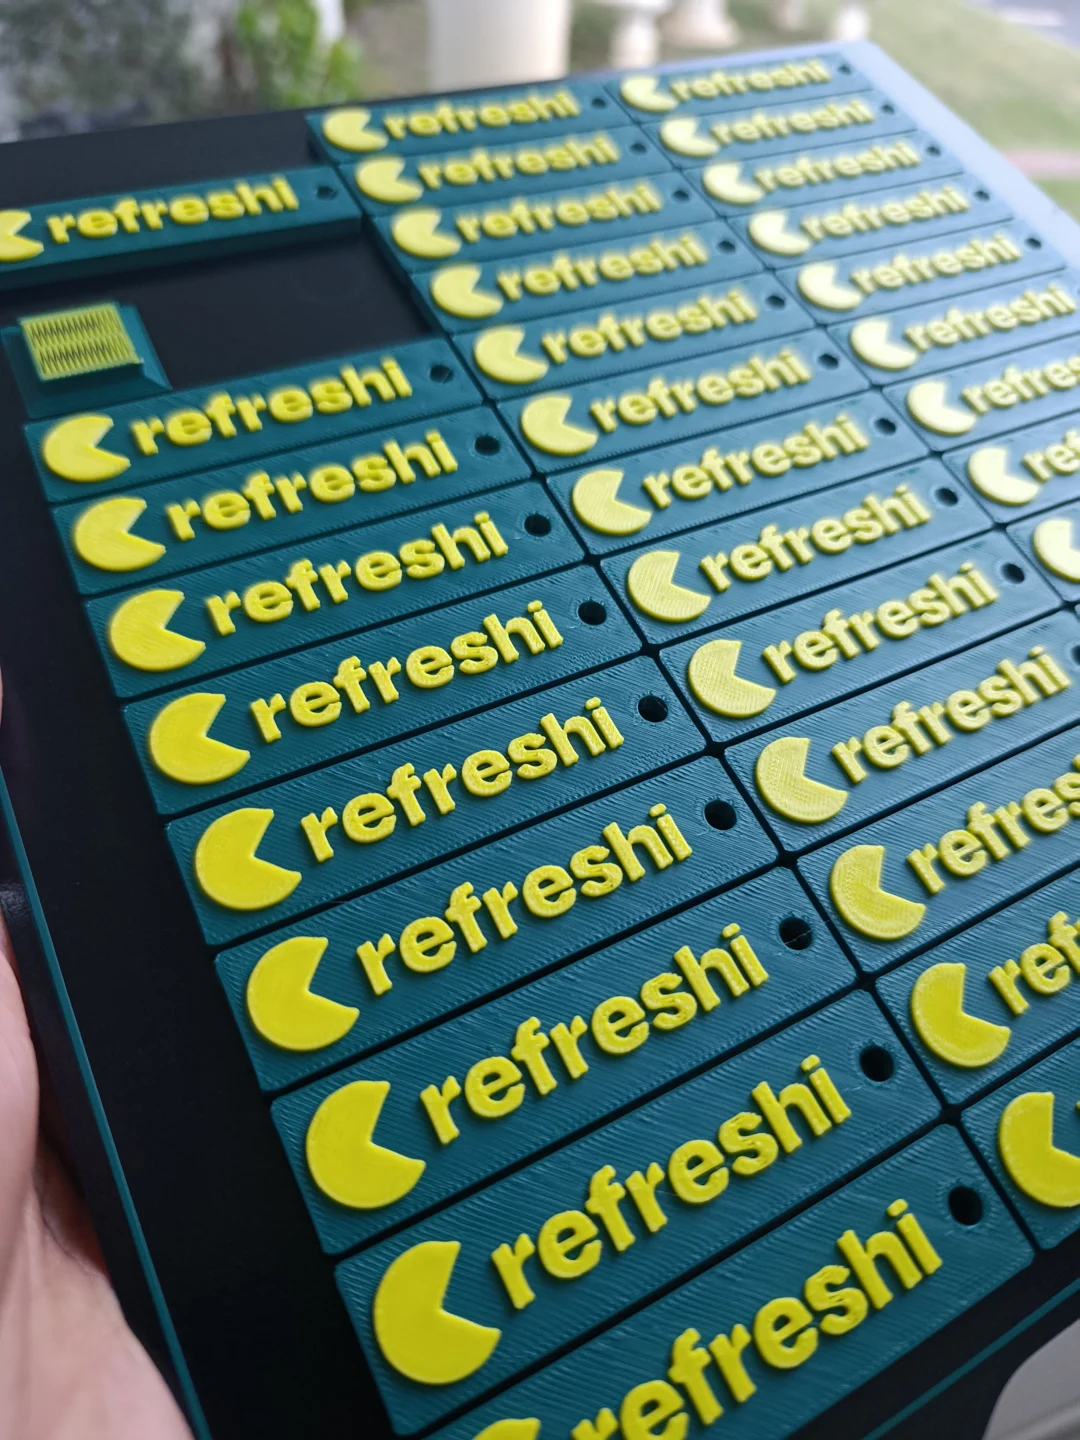
Move the sliders, watch the price move
Every control here is a real cost driver. Change one and see what it does — that's the whole lesson.
Machine time
2.5 hrs
Filament
55g
includes supports and purge waste
Ballpark
R200 – 350
This is an illustration, not a quote. It's built from our published starting prices and typical print settings, so it will show you which decisions cost money — but a real number depends on the actual model, and we've never once quoted a job without looking at one. Send us yours for a real one.
For a sense of the ranges — functional parts and decor start around R250, miniatures and figurines around R500, and large display pieces around R1,500. Those are starting points, not quotes; the pricing section has the detail.
Reality check
What it's brilliant at, and where it isn't.
A printer is a tool, not magic. Knowing the edges saves everybody a disappointing week.
Brilliant at
- One-offs and small runs — no mould, no tooling, no minimum order quantity
- Geometry you can't mould or machine: internal channels, lattices, joints printed pre-assembled
- Parts that don't exist anymore — discontinued knobs, clips, brackets and trim
- Iterating fast, where three versions in a week each cost very little
- Exact-fit custom sizes: jigs, mounts and organisers built around your specific object
- True-to-scale prototypes before you commit to expensive tooling
Not the right tool for
- Volume manufacturing — past a few hundred identical units, injection moulding wins on unit price
- Glass-smooth surfaces straight off the machine — smoothing is manual work, not a setting
- Very large single pieces — beyond the build volume, a part gets split and joined
- Sustained heat — PLA on a dashboard in a Cape Town summer will droop. That's material choice, not a fault
- Safety-critical load-bearing parts — climbing hardware, vehicle structural components, anything where failure hurts someone
- Optical clarity — 'clear' filament is translucent, not window glass
- Genuine food safety — layer lines trap bacteria and most filaments aren't certified for repeated food contact
Good to know
Six things that surprise almost everyone.
Your print is mostly air
A typical part is two or three solid walls around an internal lattice at 15-25% density. It's a deliberate strength-to-weight trade, not a shortcut.
Strength has a direction
A printed part is strongest along its layers and weakest across them, so it tends to split along a layer line before it snaps anywhere else. Which way a part is stood up on the plate is a real engineering decision.
Tolerances are around ±0.2mm
Precise, but not machine-shop precise. Where a part has to press-fit or thread into something, we design in a deliberate clearance rather than hoping.
Plastic shrinks as it cools
Larger parts shrink more than small ones, and ABS and ASA more than PLA. It's compensated for, but it's why a big flat part is harder than it looks.
Print time follows height and surface, not weight
A tall, thin, hollow piece can easily take longer than a short solid lump that weighs three times as much.
Layer lines can be reduced, not deleted
Finer layers, sanding and primer all help. Anyone promising an injection-moulded finish straight off an FDM machine is overselling.
Myths
Things you've heard that aren't quite true.
No reading required for this one — just back yourself on each statement and see how you do.
True or false?
Nine statements. Some are true, some are the things people believe that aren't. Commit to an answer before you read the explanation.
9 to go
A 3D printer can work straight from a photo of an object.
A photo has no depth. Something has to become a 3D model first — either you have the file, we design it, or we measure and reverse-engineer the real object.
Most 3D printed parts are hollow inside.
A typical part is a few solid outer walls around an internal lattice at 15-25% density. It's a strength-to-weight trade, and it's why print weight is a poor guide to print cost.
A printed part is equally strong in every direction.
It's strongest along its layers and weakest across them, so it tends to split along a layer line. Which way a part is stood up on the plate is a real engineering decision.
For 50,000 identical parts, injection moulding beats 3D printing on price.
Comfortably. The mould is expensive, but it's a one-off cost spread across every unit. Printing wins at one, ten, or a few hundred — not at fifty thousand.
Support material printed under overhangs is thrown away afterwards.
It's temporary scaffolding. You pay for the plastic and the time it took to print, then it gets snipped off and binned — which is why part orientation matters so much.
'Clear' filament prints like window glass.
It comes out translucent at best — light passes through, but you won't see through it sharply. Layer lines and infill both get in the way.
A PLA print is fine left in a parked car through a Cape Town summer.
PLA softens around 55-60°C and a closed car interior beats that easily. That's a material choice, not a printer fault — ABS or ASA is the answer for anything living in a car.
3D printed parts are too weak for genuine load-bearing work.
With the right material, wall count and orientation, PETG and ABS parts do real work every day. We'd still keep them out of anything safety-critical, like climbing gear or vehicle structure.
Once the printer finishes, the job is finished.
Supports still have to come off, seams get sanded, multi-part pieces are glued and pinned, and anything painted has to be primed first. On a display piece that hand work often takes longer than the print did.
Sensible use
Safety, storage and the fine print.
Ventilation
ABS and ASA give off fumes while printing. We run them in enclosed chambers with active filtration, which is exactly why they're a studio job and not a lounge-corner job.
Food and drink
Treat printed items as non-food-safe unless we've specifically told you otherwise. A dry cookie cutter is fine; a daily coffee mug isn't the right use of the technology.
Heat and sunlight
Don't leave a PLA piece on a dashboard or a windowsill. If something must live outdoors permanently, ask for ASA up front.
Small parts and children
Miniatures, small prints and snapped-off supports are choking hazards. These aren't certified toys for under-threes.
Design rights
We're glad to reproduce a part you own or a design you have the rights to. We won't reproduce someone else's protected design or branding without permission.
Glossary
Every word you'll hear us use.
- Additive manufacturing
- The formal name for 3D printing — building an object up in layers rather than cutting it out.
- FDM / FFF
- The melted-filament printing method our whole fleet uses.
- Filament
- The 1.75mm plastic string on a spool that FDM printers melt. Sold by the kilogram.
- Nozzle
- The heated brass or steel tip the melted plastic is pushed through. Usually 0.4mm across.
- Bed / build plate
- The heated surface the print is built on. Getting the first layer to stick to it is everything.
- Build volume
- The largest box a printer can print inside. Anything bigger gets split into parts and joined.
- Layer height
- How thick each layer is, from 0.08mm (fine, slow) to 0.28mm (coarse, fast).
- Infill
- The internal lattice inside a part, given as a percentage. Most prints sit at 15-25%.
- Perimeter / wall
- The solid outer shells of a part. More walls means more strength, more than infill does.
- Supports
- Temporary scaffolding printed under overhangs and removed afterwards.
- Slicer
- The software that converts a 3D model into printer instructions and settings.
- G-code
- Those instructions — the movement, temperature and flow commands the machine actually reads.
- STL / 3MF
- The two common file types a printable model arrives in. 3MF is the newer, richer one.
- Adhesion
- How well the first layer grips the bed. Poor adhesion is the most common cause of a failed print.
- Warping
- Corners curling up off the plate as the plastic cools and contracts. Worst on ABS and large flat parts.
- Stringing
- Fine hairs of plastic left between parts of a print as the nozzle travels. Cleaned off in finishing.
- Elephant's foot
- A slight outward bulge in the bottom layer or two, squashed out by the heat of the plate.
- Purge
- Plastic flushed through the nozzle to clear the previous colour before a filament change.
- CFS
- Creality Filament System — the multi-spool unit that lets one printer switch colours and materials mid-print.
- Benchy
- A small tugboat model used worldwide as a standard test print. Almost every printer's first job.
Beginner questions
The ones we get every single week.
Do I need a 3D file to get something printed?
No. If you have a file we'll use it, but most customers don't. Send photos, a sketch, or the broken part itself with rough measurements, and our modelling team builds the file for you before anything prints.
How long does a 3D print take?
The print itself runs for hours, not minutes — roughly 2-6 hours for a palm-sized functional part, and 30 hours or more for a large detailed display piece. Once modelling, prototyping and finishing are added, most Forge & Figures jobs turn around in about 3-7 days.
Are 3D printed parts strong enough to use for real?
Yes, when the material and settings match the job. A PETG or ABS part with thick walls handles genuine load, heat and impact. We wouldn't put a printed part into anything safety-critical like climbing gear or a vehicle's structure, and we'll say so if that's what you're asking for.
Can you copy a part I already own?
If it's your part and it isn't someone else's protected design, yes. Courier or drop off the original in Cape Town, we measure and reverse-engineer it into a printable model, and print the replacement. This works especially well for discontinued knobs, clips, brackets and trim pieces.
Is 3D printing cheaper than just buying the item?
For something still in production and sitting on a shelf, usually not — retail benefits from mass manufacturing. Printing wins when the item is discontinued, when it has to be a custom size or shape, when you need only one or two, or when you're testing a design before paying for tooling.
Can I put a 3D printed item in the dishwasher, or use it for food?
Assume not, unless we've told you otherwise for that specific piece. Layer lines create grooves that trap bacteria, most filaments aren't certified for repeated food contact, and dishwasher heat will soften PLA outright. Dry, short-contact items like cookie cutters are the sensible exception.
What's the largest thing you can print?
Each machine has a fixed build volume, so anything larger is designed as several pieces and joined — which is how big cosplay props and display builds are made everywhere. Send us the intended size and we'll tell you whether it's one piece or several.
More questions about ordering, shipping and payment are on the FAQ page.
Your run
0 of 3 challenges
Three challenges are hiding in this page.
- Picked a materialNot tried yet
- Priced a printNot tried yet
- Busted some mythsNot tried yet
Your turn
Now you know enough to ask for exactly what you want.
Send us a photo, a sketch, a broken part, or just a description of the thing in your head. We'll tell you honestly whether printing is the right answer, what it'll cost, and how long it'll take — no fixed hours, just message us.