
The Corners an Extrusion Can't Turn

Client
Ornate Signs
Aluminium extrusion is a brilliant thing to build a light fixture out of. It's straight, it's stiff, it's cheap per metre, and it comes with a channel already designed to hold an LED strip and a diffuser. What it cannot do is turn a corner.
That was the problem Ornate Signs brought us. They were building a pair of large illuminated ceiling frames for their client, Redwood Industries — the kind of feature that runs a continuous glowing line around the perimeter of a dropped ceiling. The design called for softly radiused corners, not mitred 90° joints. Extrusion can't be bent to that radius without crushing the LED channel, and a mitre would break the light line at every corner with a hard dark notch.
So the corners had to be made. Eight of them, two frames' worth.
Matching a profile we didn't draw
The hard part of this job wasn't the corner — it was the cross-section. Whatever we printed had to match the extruded aluminium profile exactly on both ends, so the joint would vanish once it was filled and sprayed. That means the outer face, the LED channel, the diffuser lip, and the return on the back all had to line up to the extrusion's real dimensions, not approximately.
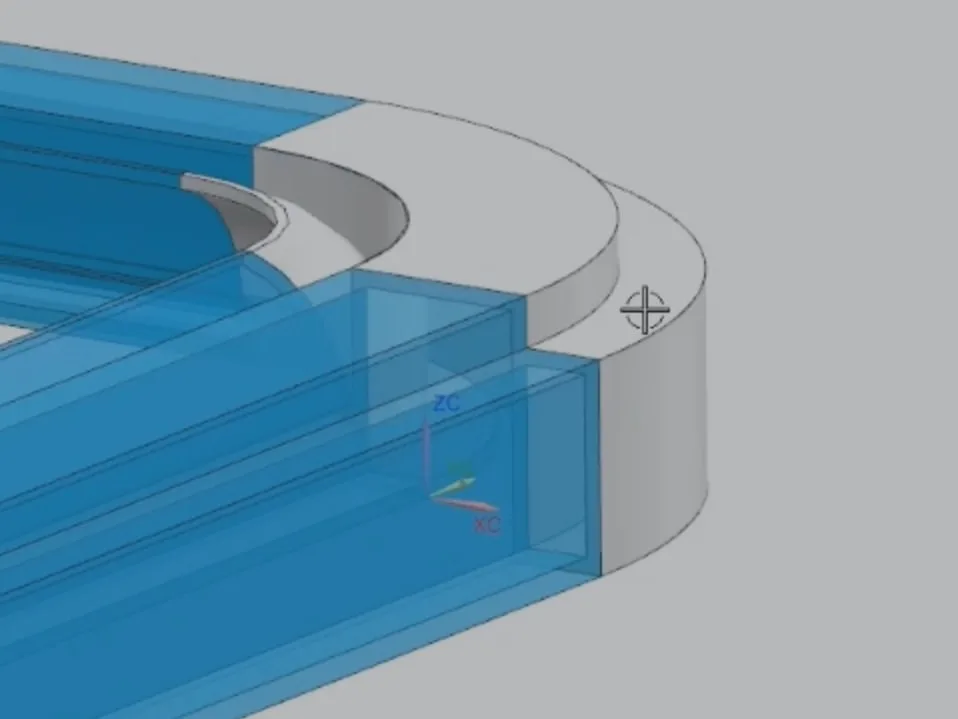
The model was built by sweeping that profile around a 90° arc, then adding a flat register at each end that slides inside the extrusion and holds the alignment while the adhesive cures. The blue section in the render above is the extrusion; the grey is our part. The whole job is making the transition between the two invisible.
Printed in white PETG
We ran the corners in white PETG. LED strips are not hot in the way a heater is hot, but they do sit in a sealed aluminium channel in a ceiling void with nowhere for heat to go, and PLA starts to soften at temperatures a room can plausibly reach in a Cape Town summer. PETG gives a comfortable margin and is tougher to handle on site, which matters when a part is being fitted overhead on a ladder.
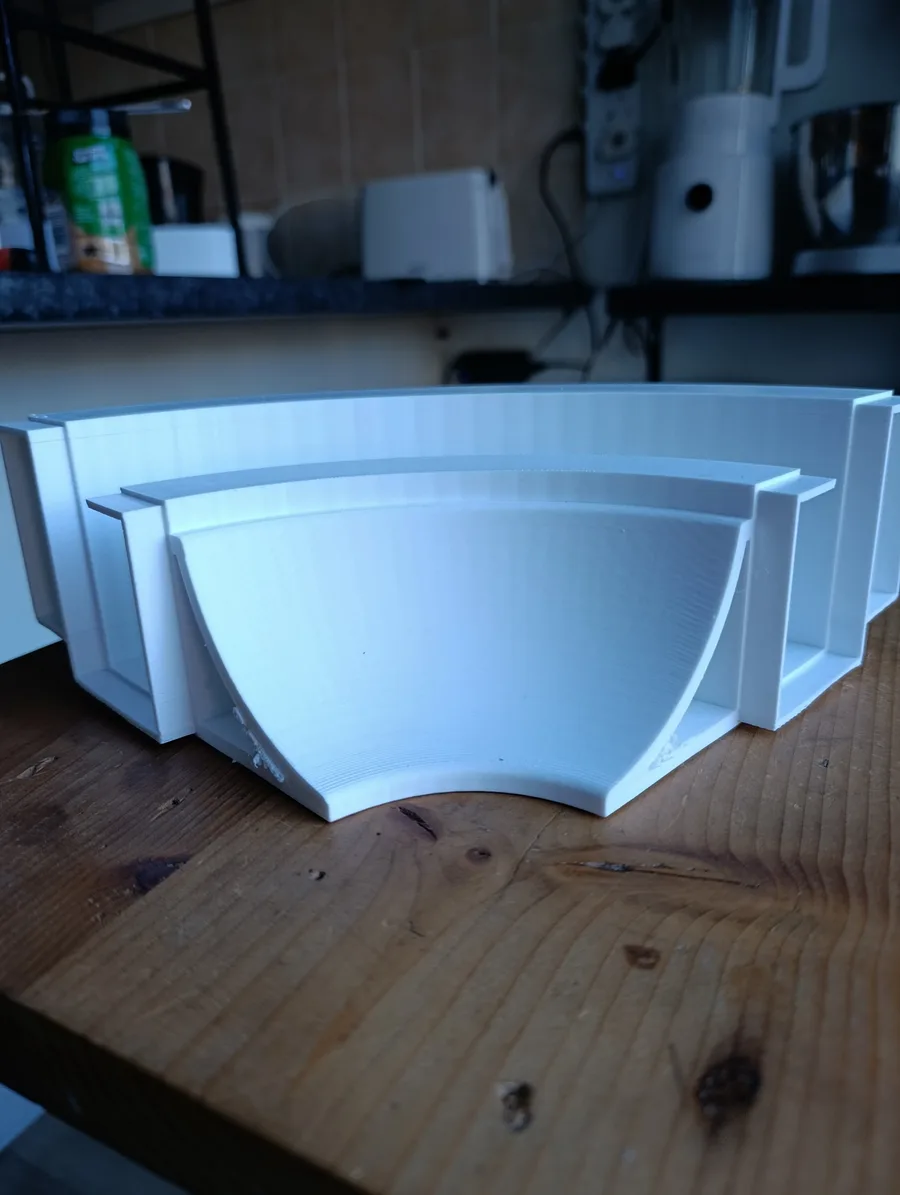
White was deliberate too. Every one of these parts was going to be primed and sprayed anyway, but a white base under a white topcoat means any pinhole or thin spot in the paint reads as white rather than as a dark speck.
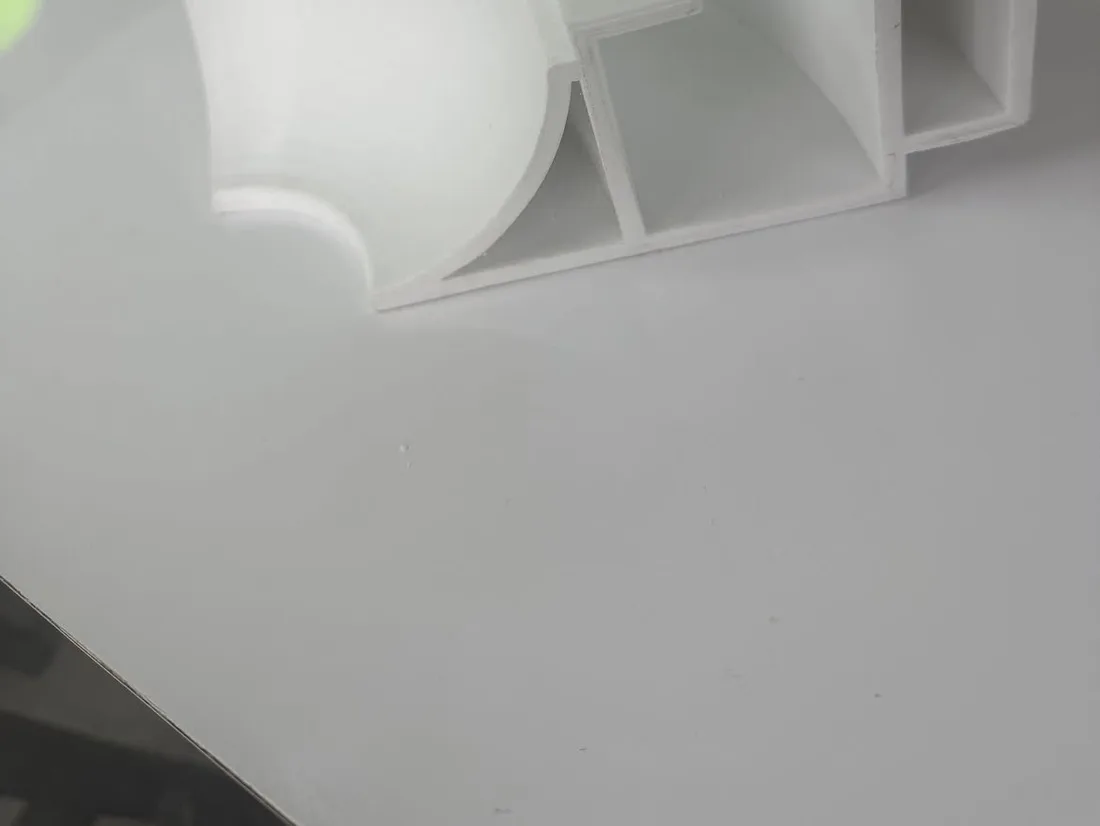
Internally the part is ribbed rather than solid. There's no structural reason for a corner this size to be a solid block of plastic — the ribs keep it rigid, keep the walls from sinking as they cool, and save a meaningful amount of print time across eight parts.
Fitted, filled, and sprayed as one piece
This is the step that decides whether the job looks bespoke or looks repaired. The corners went in on Ornate's bench, bonded between two straight extrusion runs, with the registers holding everything square while it set.
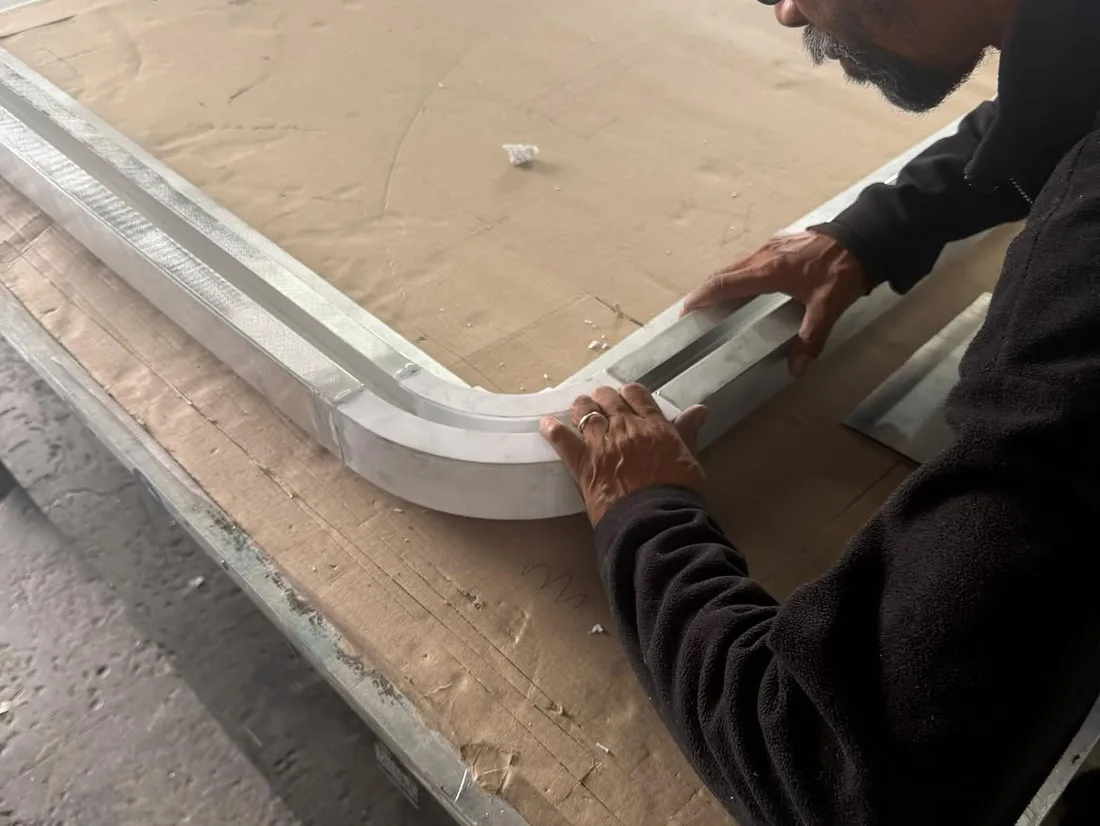
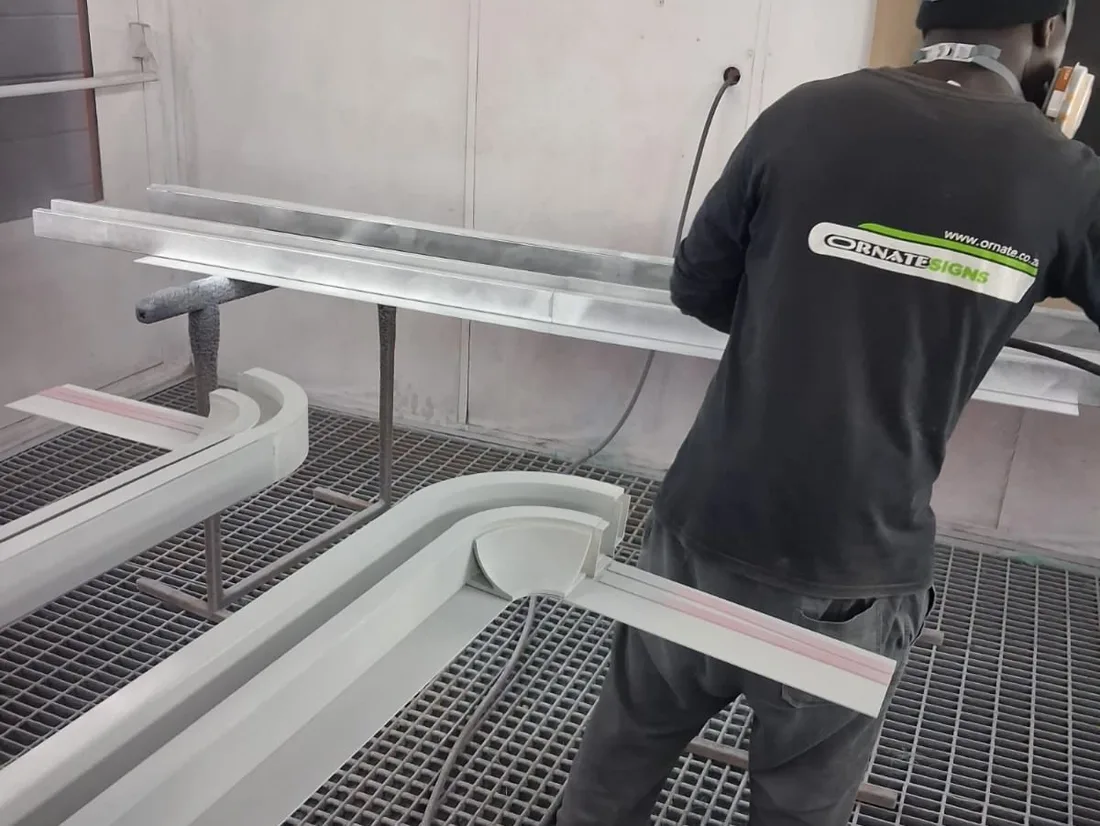
Then the whole frame — aluminium and printed corners together — went into the spray booth and got primed and topcoated as a single assembly. Nothing was painted separately and assembled after. That's the trick: once a plastic part and an aluminium part carry the same primer and the same topcoat from the same gun on the same day, they stop being two materials.
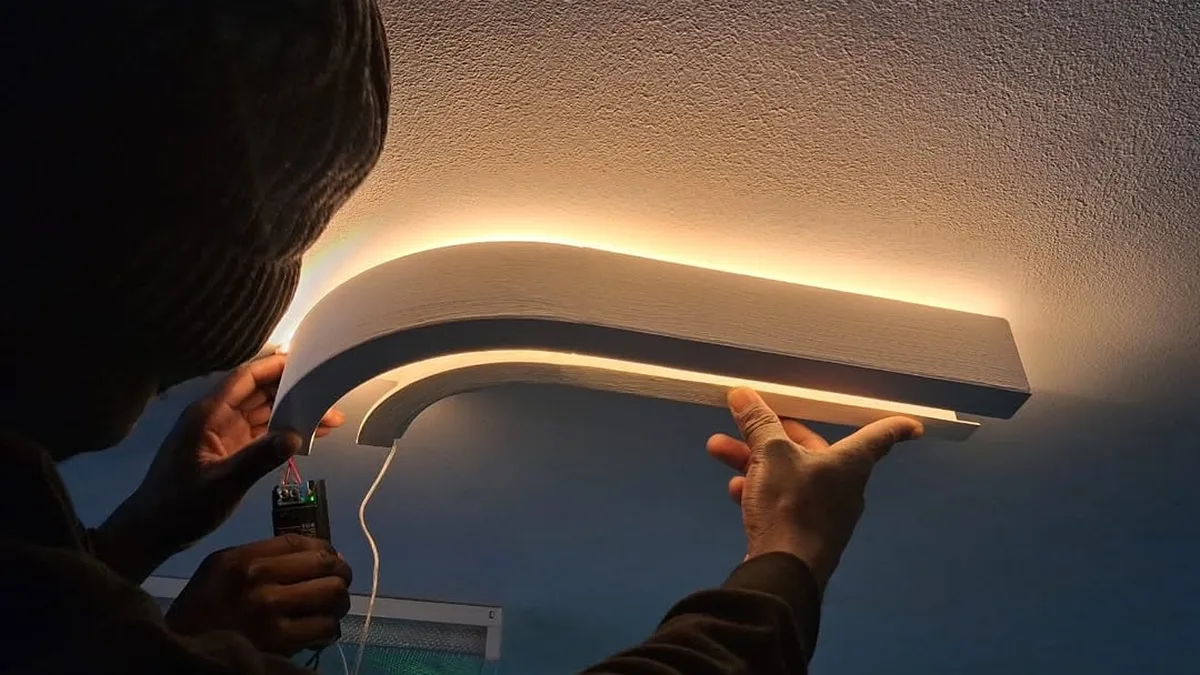
We had a light test before it went up, holding a corner and a straight section together with the LED strip live. This is the shot at the top of the post, and it's the moment you find out whether the channel geometry was right — the glow has to carry around the bend at the same brightness and the same width as it does down the straight. It did.
On the ceiling
Installation was Ornate's, on site, off ladders, into a dropped ceiling.
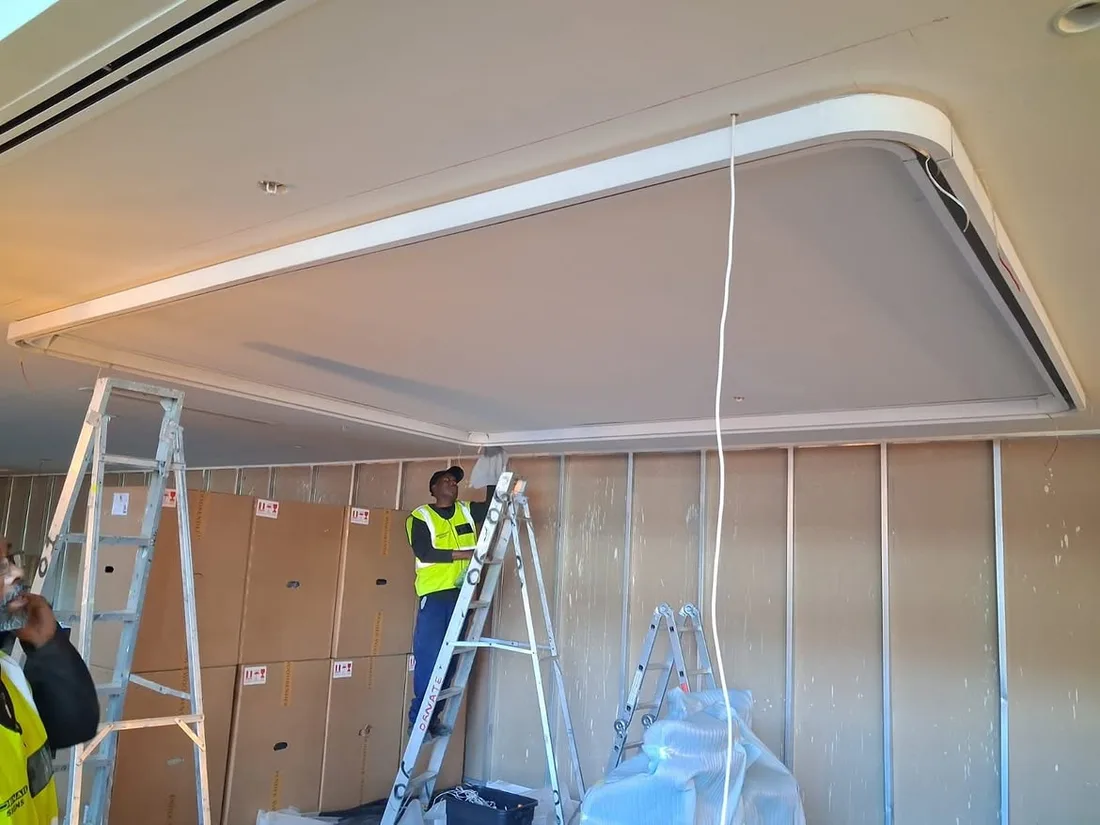
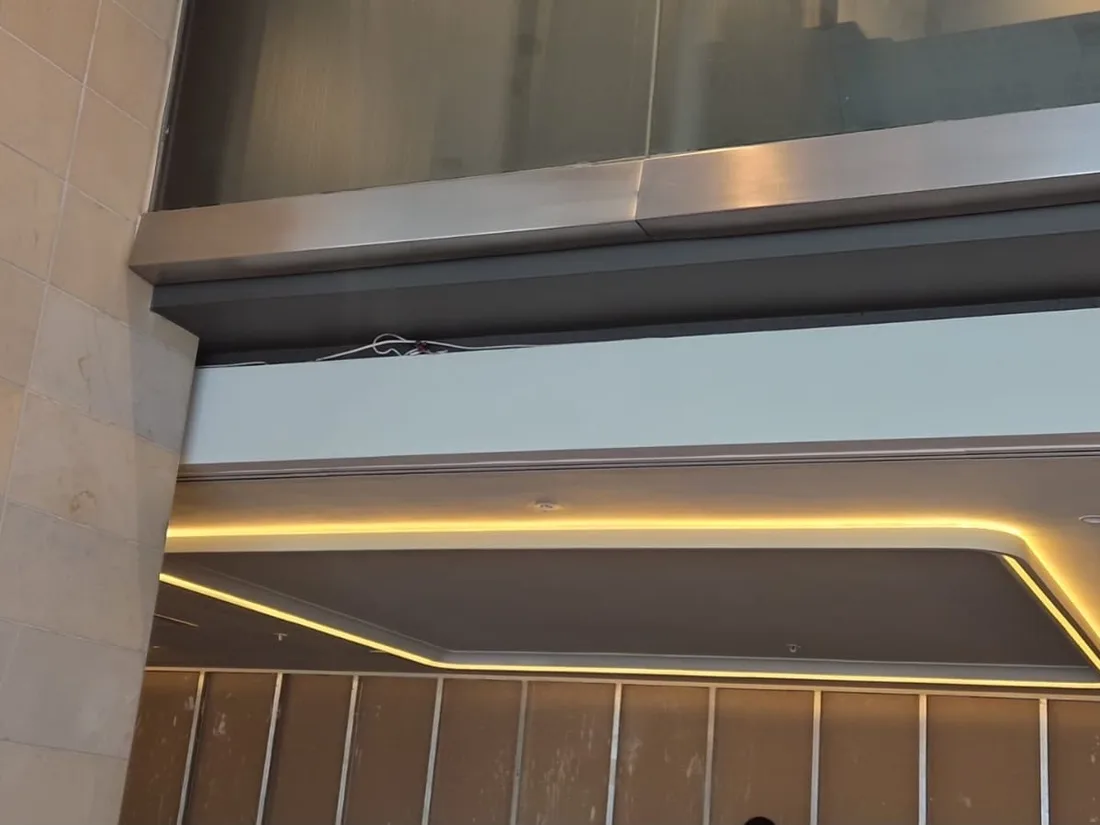
And finished, in the room it was made for:
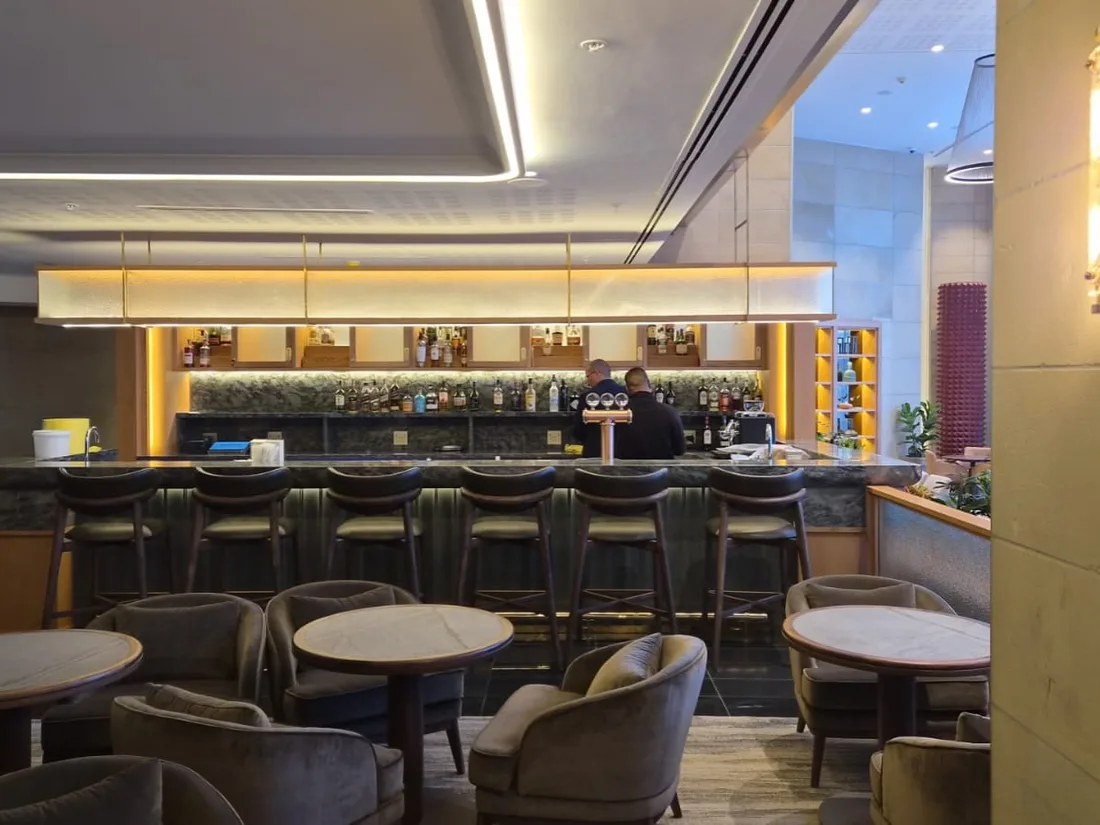
You can't tell which parts of that light line came off a printer. That was the entire brief.
Why this is a good use of a 3D printer
There's a version of this job that doesn't involve us at all: have the corners CNC-machined from solid aluminium, or fabricated and welded from sheet. Both work. Both cost considerably more per corner, both take longer, and both are painful to revise if the profile turns out to be a fraction off on the first fit.
Printing put a real corner in Ornate's hands quickly and cheaply enough that getting the profile match right was a matter of checking a test piece rather than committing to a machining run. For a part that ends up buried under primer and topcoat, carrying no structural load, and living indoors — the printed version isn't a compromise. It's the correct answer.
If you're fabricating something that's mostly standard stock but needs a handful of shapes the stock can't make, that's exactly the gap we fill. Send us a WhatsApp with the profile and the geometry you're after.